The Basics of Sewing – Part 1

10 Sewing Tips You Should Never Forget
September 22, 2017The Basics of Sewing – Part 1
Getting Conversant with your Sewing Tools
I decided to start a series: “The basics of Sewing”, where I intend to be giving the fundamentals for any successful fashion designing career. You can’t go to the farm without knowing how to use a hoe, cutlass or an axe. Neither can you call yourself a farmer, when you don’t have even the slightest knowledge on how to plant a crop, the time to plant the crop, best season to harvest it, etc. Likewise, with sewing, you cannot call yourself a tailor, seamstress or fashion designer when you know nothing about the basics of sewing. Like I said in one of my previous blog posts, I stressed on the need for a strong and solid foundation for any successful career. If you are a fashion designer and you still have difficulties with the basics of sewing, then I think you should put up your game and do some research. Though, I will be covering most of these basics in this series.
We are all aware that complexity is built from simplicity. The complex things in life are just combinations of the simple things which most of us have failed to grasp, and have ignored. If there are 22 steps on a staircase, you have to climb gradually to prevent falling. If you try scaling 7 steps to get to the top faster, you will fall and waste more time on the floor, than you would have if you had added a little bit of patience.
While I was still learning the art of fashion designing, I was amazed by some complex styles I saw most famous fashion designers make. I was also a little bit scared that I won’t be able to do so, due to my limited knowledge at that point in time. I had to brace up and ensured that I mastered the basics efficiently. I realized that most of the so-called “complex” styles in fashion designing are not so complex after all. Even a 12-year old kid can design these “complex” styles if he/she knows the basics.
In this series, I am going to start from the beginning. I will not assume that anyone has a prior knowledge in fashion designing. I will take it that you are seeing this topic for the first time, and will try my possible best to break it down to you, in the simplest manner. Nonetheless, this part of the series is really easy. You just need to know the tools required for fashion designing and get them prepared and set for other series that I will be posting.
For the intermediates and experts on this page, you can skip this post. Though, I assure you that no knowledge is a waste. I will make this first post as short as possible, as there is nothing much to say here, as I just finished the pep talk.
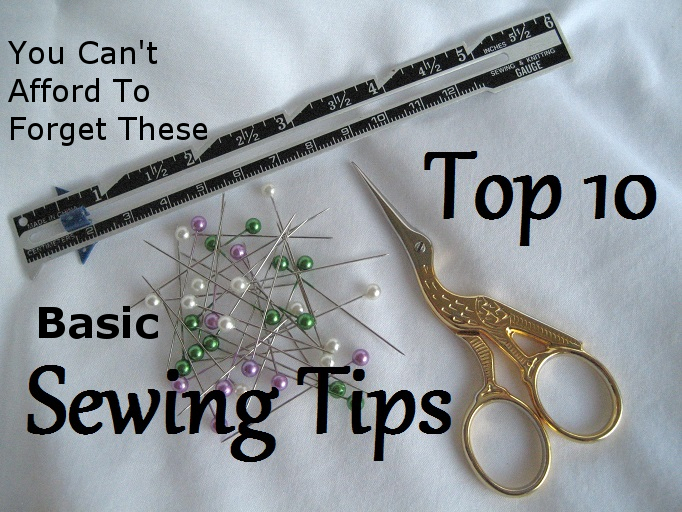
Below are the major tools you need in
Scissors: For cutting out your pattern on your fabric. The sharper the scissors, the easier it is for you to cut.
Measuring tape: for getting proper measurements for different parts of the body which is mandatory, depending on the style.
For a blouse, you want to ensure that you have measurements for your bust, hip, blouse length, circumference (for sleeve), sleeve length and waist.
For a trouser, you want to ensure that you have measurements for your crutch, length of trouser, waist, hip and ankle.
For a short pencil skirt, you need measurements for waist, hip, knee, full-length, half-length, etc.
Sewing machine: they are divided into two main types: Manual and Industrial. Beginners are often advised to use the manual sewing machine to practice, before advancing to the industrial sewing machine. The difference between a manual and an industrial sewing machine is that with a manual sewing machine you have to pedal to and fro with your feet; while an industrial sewing machine requires less effort to be applied when using it. Though we have other machines like weaving machine, hemming machine, etc., they will not be so important in this series for now.
Tailor’s chalk: To draft out your pattern on your fabric, when necessary, before cutting with scissors. When using this chalk ensure that you use it on the inside/back of the fabric (the part of the fabric which is dull, i.e. the part that should be worn inside). Also, ensure that you use a chalk that can easily be cleaned.
Rule: To enable you to draw straight lines if you are not so good at free-sketch. A wooden one is preferable.
Thread: For joining different parts of your fabric together, with the aid of a sewing machine. E.g. joining the sleeves to the armhole flare to the bottom of a pencil skirt, etc. Ensure that you for a particular type of fabric you use a thread with its matching colour to prevent contrasting colours.
Thimble: For safety precautions. This is to prevent sustaining an injury on your fingers (especially the middle finger) from the sewing machine. Really necessary for beginners.
Seam Rippers: This should come in handy later on. Seam rippers are used in loosening threads from a material. Oftentimes, you may make a little mistake or the other and may resort to loosening the thread, which has been applied to the wrong seam. The only thing that can do the magic effect is a seam ripper. Using a scissors or razor blade will be very risky.
Tailor’s pin: This is used to tack seams in place while sewing, to prevent it from shifting; as this may lead to mistakes while sewing. They are often used when sewing lacra types of materials, as they have more tendency of shifting away from the original position.